
Home & Lifestyle
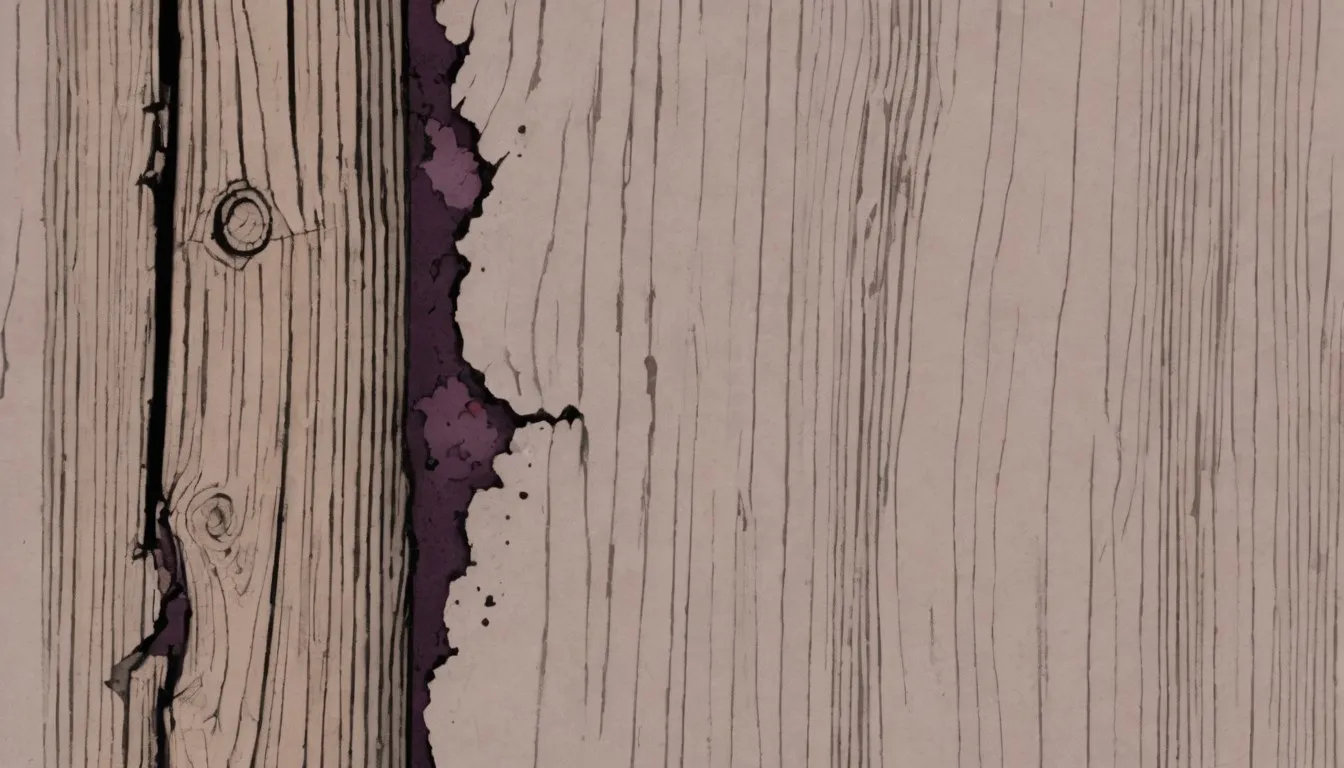
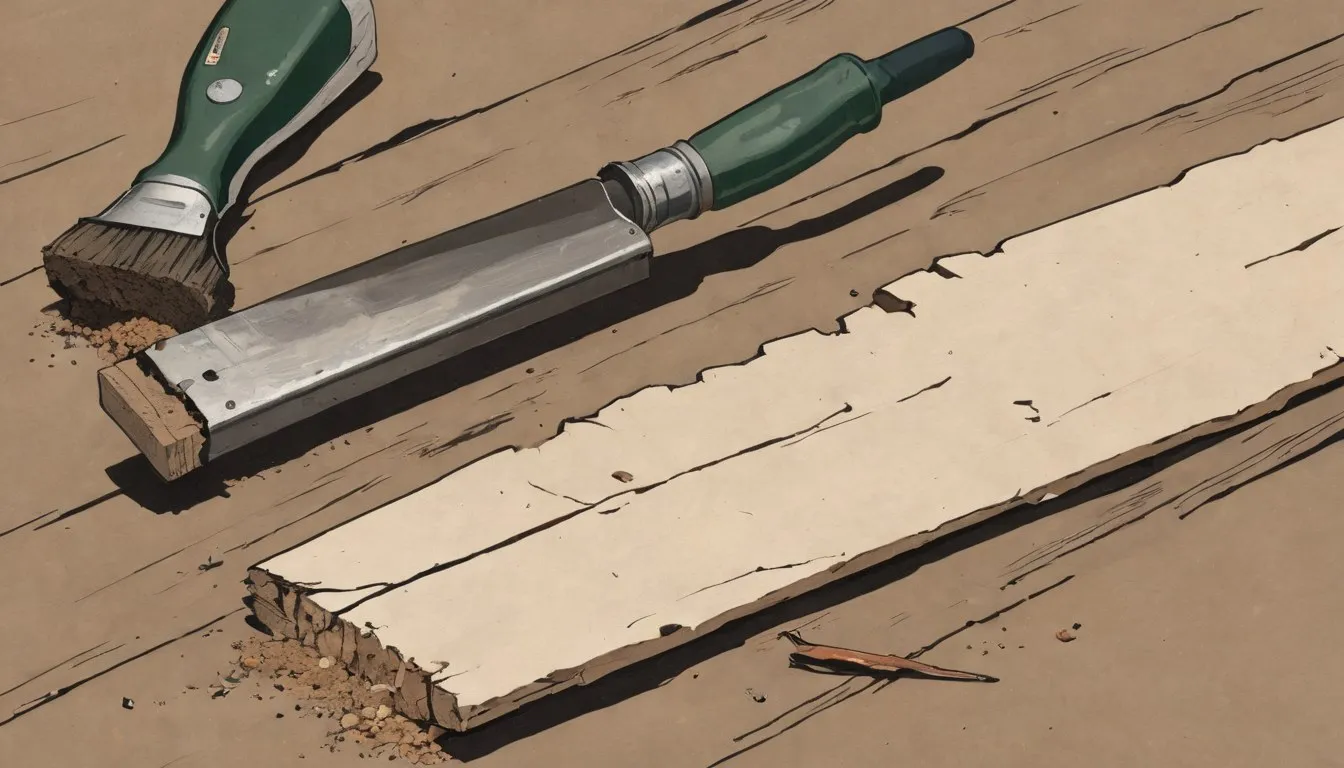
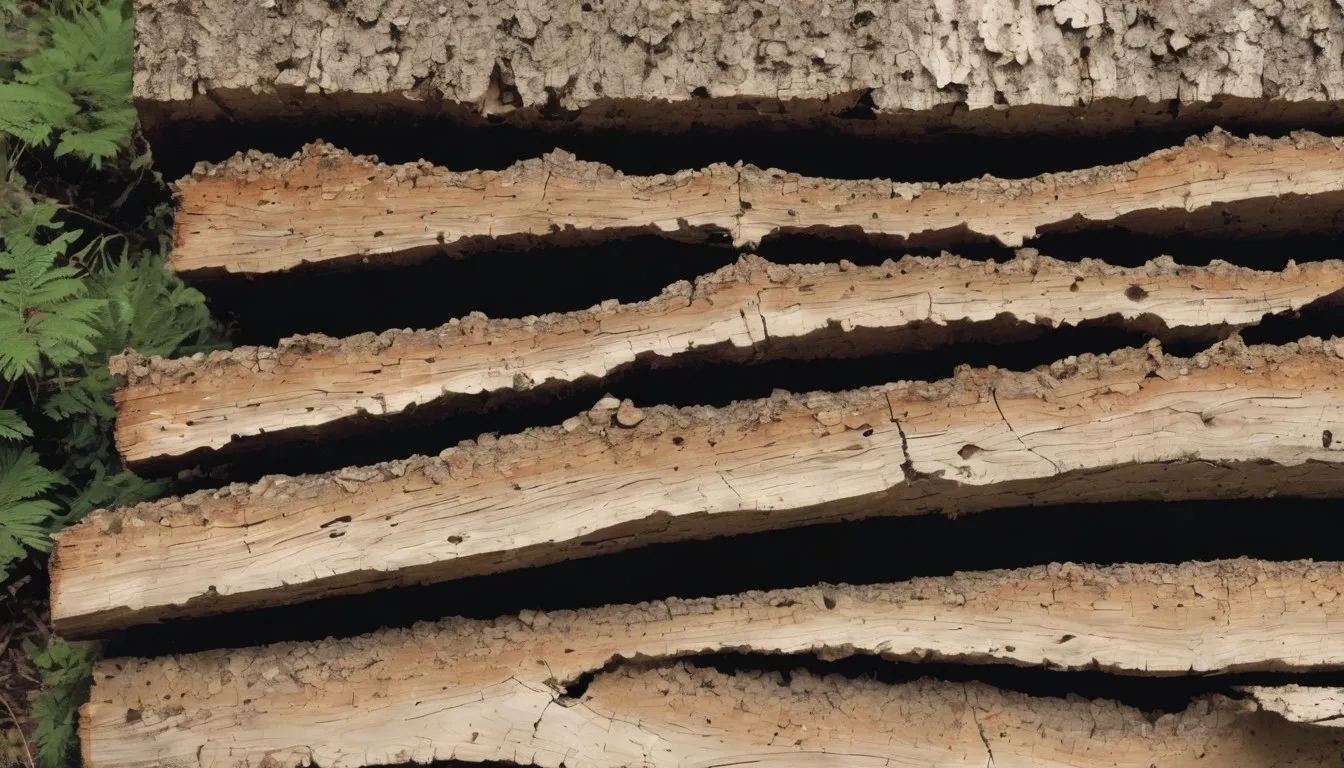
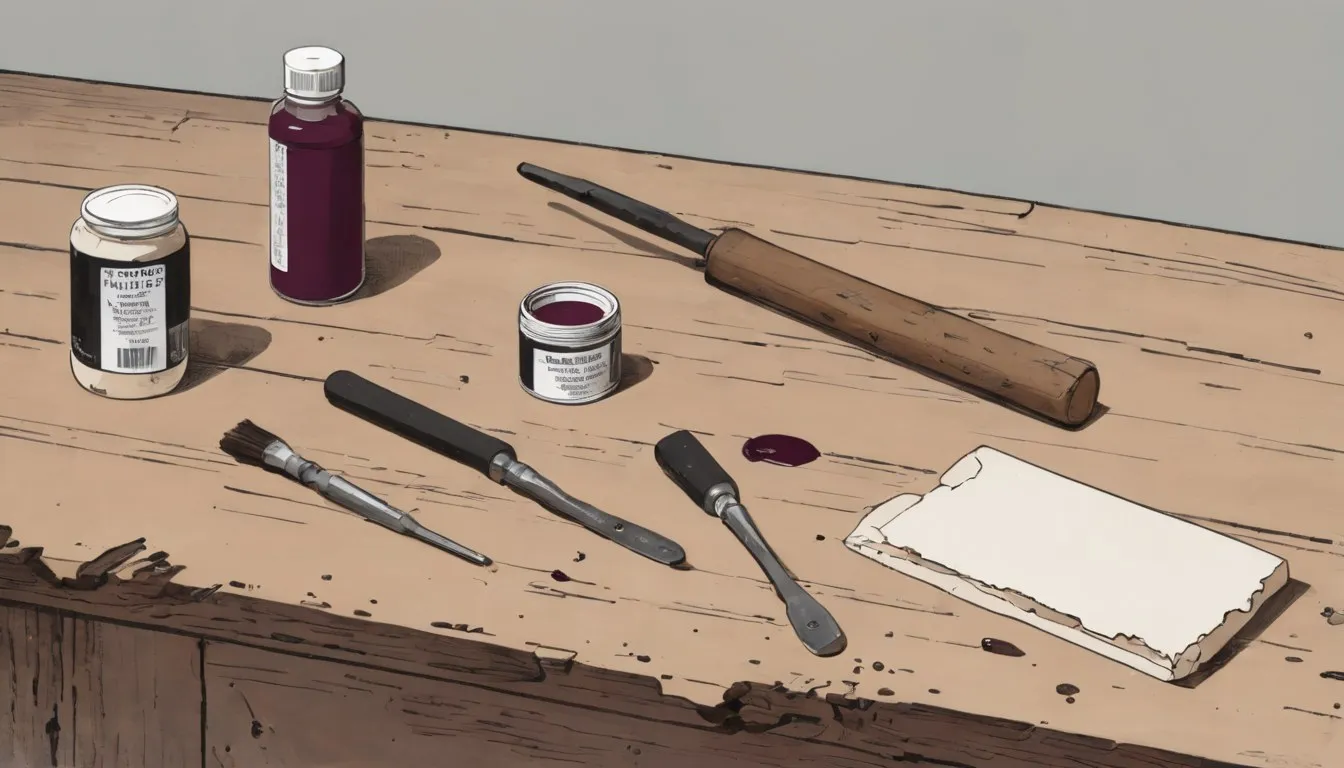
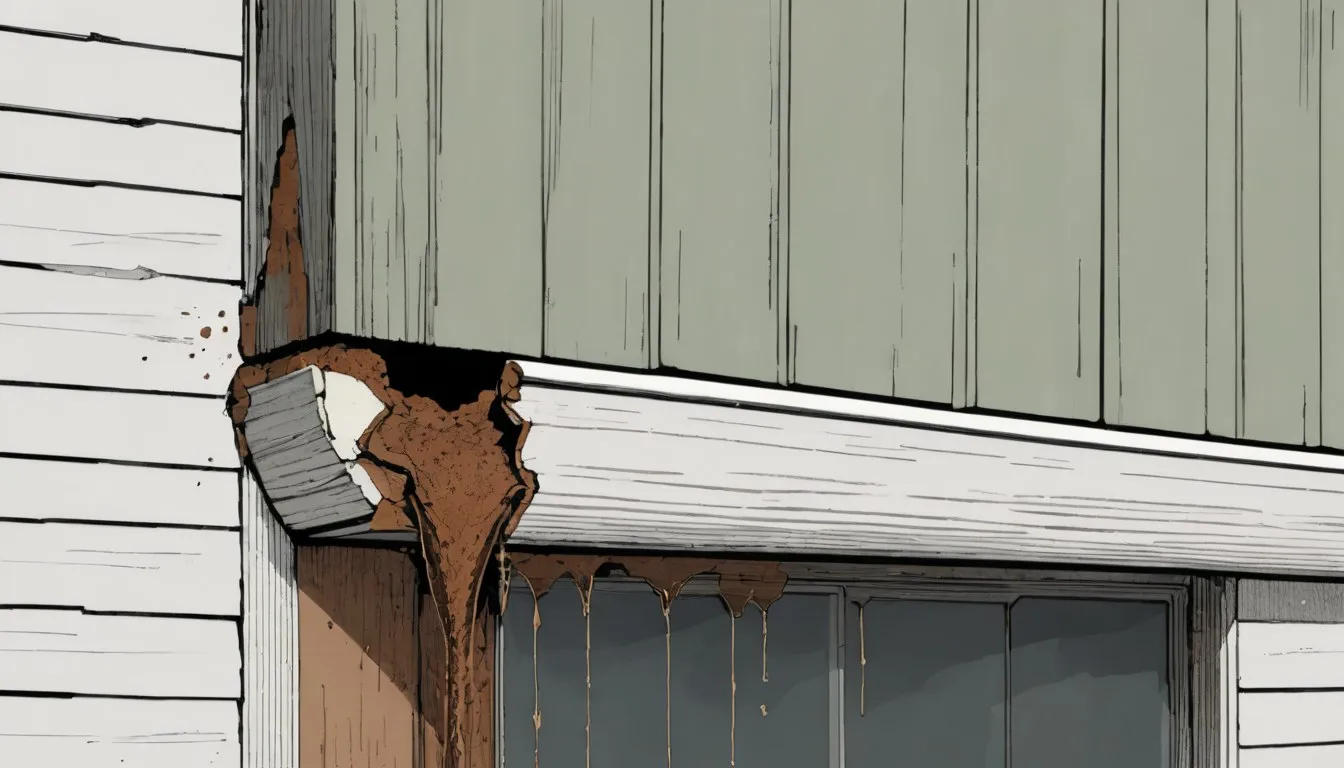
Wood Hardener for Rotted Wood: What It Can (and Can’t) Fix
July 24, 2026
Making a home work better — decorating and organizing ideas, gardening guides, cleaning fixes and DIY repairs you can genuinely do yourself.
Home & Lifestyle
July 24, 2026
Home & Lifestyle
July 23, 2026
Home & Lifestyle
July 23, 2026
Home & Lifestyle
July 23, 2026
Home & Lifestyle
July 23, 2026
Home & Lifestyle
July 23, 2026
Home & Lifestyle
July 23, 2026
Home & Lifestyle
July 23, 2026
Home & Lifestyle
July 23, 2026
Home & Lifestyle
July 23, 2026

Home & Lifestyle
July 23, 2026

Home & Lifestyle
July 23, 2026
Home & Lifestyle
July 23, 2026

Home & Lifestyle
July 23, 2026

Home & Lifestyle
July 23, 2026
Home & Lifestyle
July 23, 2026
Home & Lifestyle
July 23, 2026
Home & Lifestyle
July 23, 2026
Home & Lifestyle
July 23, 2026

Home & Lifestyle
July 23, 2026
Home & Lifestyle
July 23, 2026

Home & Lifestyle
July 23, 2026
Home & Lifestyle
July 23, 2026

Home & Lifestyle
July 3, 2026

Home & Lifestyle
July 3, 2026

Home & Lifestyle
July 3, 2026

Home & Lifestyle
July 3, 2026
Home & Lifestyle
July 3, 2026
Home & Lifestyle
July 3, 2026
Home & Lifestyle
July 3, 2026

Home & Lifestyle
July 3, 2026

Home & Lifestyle
July 3, 2026
Home & Lifestyle
July 3, 2026
Home & Lifestyle
July 3, 2026
Home & Lifestyle
July 3, 2026
Home & Lifestyle
July 3, 2026

Home & Lifestyle
July 3, 2026
Home & Lifestyle
July 3, 2026
Home & Lifestyle
July 3, 2026
Home & Lifestyle
July 3, 2026
Home & Lifestyle
July 3, 2026

Home & Lifestyle
July 3, 2026

Home & Lifestyle
July 3, 2026
Home & Lifestyle
July 3, 2026
Home & Lifestyle
July 3, 2026
Home & Lifestyle
July 3, 2026

Home & Lifestyle
July 3, 2026
Home & Lifestyle
July 3, 2026
Home & Lifestyle
July 3, 2026

Home & Lifestyle
July 3, 2026

Home & Lifestyle
July 3, 2026

Home & Lifestyle
July 3, 2026
Home & Lifestyle
July 3, 2026

Home & Lifestyle
July 3, 2026

Home & Lifestyle
July 3, 2026
Home & Lifestyle
July 3, 2026

Home & Lifestyle
July 3, 2026
Home & Lifestyle
July 3, 2026
Home & Lifestyle
July 3, 2026

Home & Lifestyle
July 3, 2026
Home & Lifestyle
July 3, 2026
Home & Lifestyle
July 3, 2026
Home & Lifestyle
July 3, 2026

Home & Lifestyle
July 3, 2026

Home & Lifestyle
July 3, 2026
Home & Lifestyle
July 3, 2026

Home & Lifestyle
July 3, 2026

Home & Lifestyle
July 3, 2026

Home & Lifestyle
July 3, 2026

Home & Lifestyle
July 3, 2026

Home & Lifestyle
July 3, 2026
Home & Lifestyle
July 3, 2026

Home & Lifestyle
July 3, 2026

Home & Lifestyle
July 3, 2026
Home & Lifestyle
July 3, 2026
Home & Lifestyle
July 3, 2026

Home & Lifestyle
July 3, 2026
Home & Lifestyle
July 3, 2026

Home & Lifestyle
July 3, 2026

Home & Lifestyle
July 3, 2026

Home & Lifestyle
July 3, 2026

Home & Lifestyle
July 3, 2026
Home & Lifestyle
July 3, 2026
Home & Lifestyle
July 3, 2026

Home & Lifestyle
July 3, 2026

Home & Lifestyle
July 3, 2026
Home & Lifestyle
July 3, 2026
Home & Lifestyle
July 3, 2026
Home & Lifestyle
July 3, 2026
Home & Lifestyle
July 3, 2026
Home & Lifestyle
July 3, 2026
Home & Lifestyle
July 3, 2026

Home & Lifestyle
July 3, 2026

Home & Lifestyle
July 3, 2026

Home & Lifestyle
July 3, 2026
Home & Lifestyle
July 3, 2026

Home & Lifestyle
July 3, 2026
Home & Lifestyle
July 3, 2026
Home & Lifestyle
July 3, 2026
Home & Lifestyle
July 3, 2026

Home & Lifestyle
July 3, 2026

Home & Lifestyle
July 3, 2026

Home & Lifestyle
July 3, 2026

Home & Lifestyle
July 3, 2026

Home & Lifestyle
July 3, 2026

Home & Lifestyle
July 3, 2026

Home & Lifestyle
July 3, 2026
Home & Lifestyle
July 3, 2026

Home & Lifestyle
July 3, 2026
Home & Lifestyle
July 3, 2026

Home & Lifestyle
July 3, 2026
Home & Lifestyle
July 3, 2026
Home & Lifestyle
July 3, 2026

Home & Lifestyle
July 3, 2026

Home & Lifestyle
July 3, 2026

Home & Lifestyle
July 3, 2026

Home & Lifestyle
July 3, 2026

Home & Lifestyle
July 3, 2026

Home & Lifestyle
July 3, 2026
Home & Lifestyle
July 3, 2026
Home & Lifestyle
July 3, 2026
Home & Lifestyle
July 3, 2026
Home & Lifestyle
July 3, 2026

Home & Lifestyle
July 3, 2026

Home & Lifestyle
July 3, 2026

Home & Lifestyle
July 3, 2026

Home & Lifestyle
July 3, 2026

Home & Lifestyle
July 3, 2026

Home & Lifestyle
July 3, 2026

Home & Lifestyle
July 3, 2026
Home & Lifestyle
July 3, 2026
Home & Lifestyle
July 3, 2026

Home & Lifestyle
July 3, 2026

Home & Lifestyle
July 3, 2026
Home & Lifestyle
July 3, 2026
Home & Lifestyle
July 3, 2026

Home & Lifestyle
July 3, 2026

Home & Lifestyle
July 3, 2026
Home & Lifestyle
July 3, 2026

Home & Lifestyle
July 3, 2026

Home & Lifestyle
July 3, 2026
Home & Lifestyle
July 3, 2026

Home & Lifestyle
July 3, 2026

Home & Lifestyle
July 3, 2026

Home & Lifestyle
July 3, 2026

Home & Lifestyle
July 3, 2026

Home & Lifestyle
July 3, 2026

Home & Lifestyle
July 3, 2026

Home & Lifestyle
July 3, 2026

Home & Lifestyle
July 3, 2026

Home & Lifestyle
July 3, 2026
Home & Lifestyle
July 3, 2026

Home & Lifestyle
July 3, 2026

Home & Lifestyle
July 3, 2026

Home & Lifestyle
July 3, 2026
Home & Lifestyle
July 3, 2026
Home & Lifestyle
July 3, 2026

Home & Lifestyle
July 3, 2026

Home & Lifestyle
July 3, 2026

Home & Lifestyle
July 3, 2026

Home & Lifestyle
July 3, 2026
Home & Lifestyle
July 3, 2026

Home & Lifestyle
July 3, 2026

Home & Lifestyle
July 3, 2026
Home & Lifestyle
July 3, 2026
Home & Lifestyle
July 3, 2026
Home & Lifestyle
July 3, 2026

Home & Lifestyle
July 3, 2026

Home & Lifestyle
July 3, 2026
Home & Lifestyle
July 3, 2026

Home & Lifestyle
July 3, 2026

Home & Lifestyle
July 3, 2026
Home & Lifestyle
July 3, 2026

Home & Lifestyle
July 3, 2026

Home & Lifestyle
July 3, 2026
Home & Lifestyle
July 3, 2026

Home & Lifestyle
July 3, 2026
Home & Lifestyle
July 3, 2026

Home & Lifestyle
July 3, 2026

Home & Lifestyle
July 3, 2026

Home & Lifestyle
July 3, 2026

Home & Lifestyle
July 3, 2026
Home & Lifestyle
July 3, 2026

Home & Lifestyle
July 3, 2026

Home & Lifestyle
July 3, 2026
Home & Lifestyle
July 3, 2026

Home & Lifestyle
July 3, 2026

Home & Lifestyle
July 3, 2026
Home & Lifestyle
July 3, 2026

Home & Lifestyle
July 3, 2026
Home & Lifestyle
July 3, 2026

Home & Lifestyle
July 3, 2026
Home & Lifestyle
July 3, 2026

Home & Lifestyle
July 3, 2026

Home & Lifestyle
July 3, 2026
Home & Lifestyle
July 3, 2026

Home & Lifestyle
July 3, 2026

Home & Lifestyle
July 3, 2026

Home & Lifestyle
July 3, 2026

Home & Lifestyle
July 3, 2026