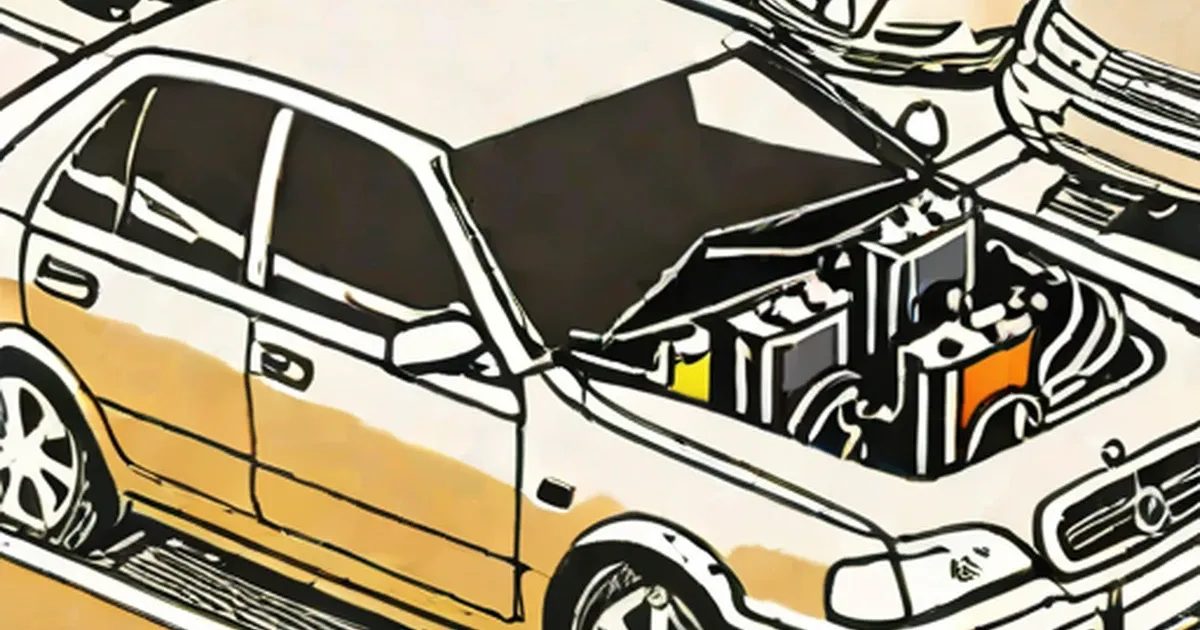
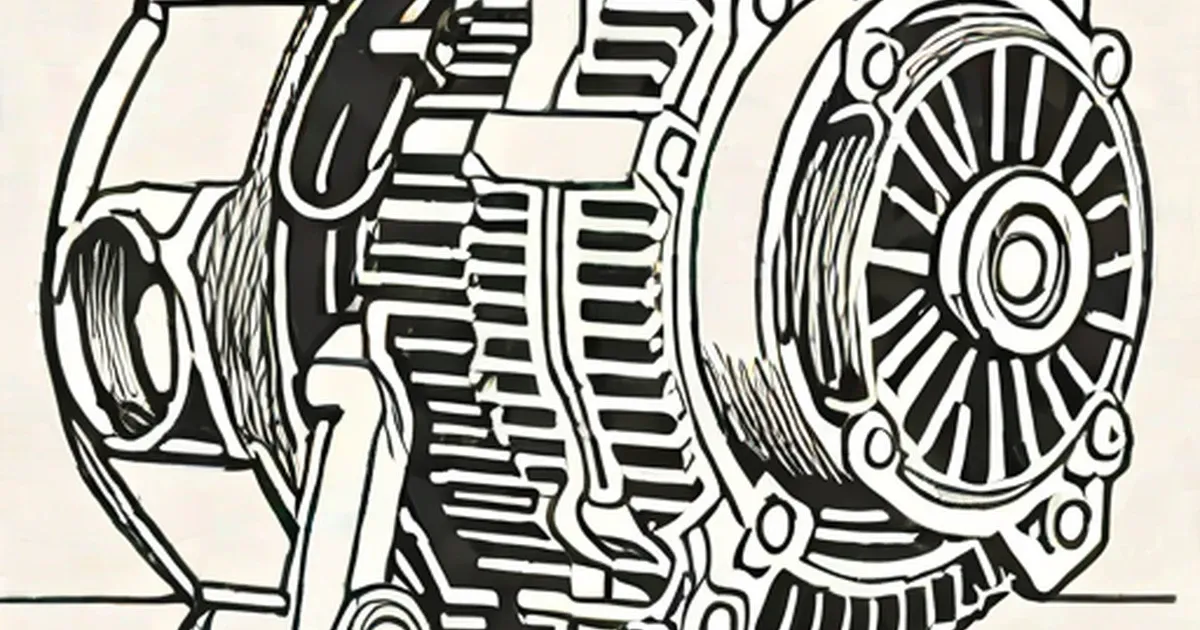
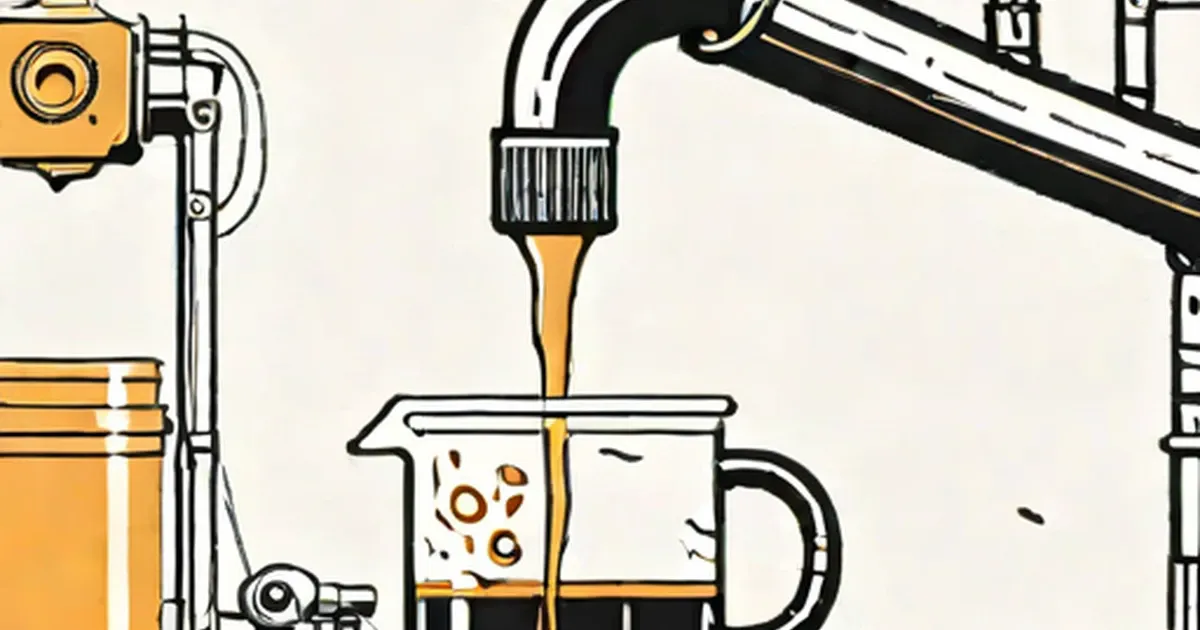
How to Repair a Leather Car Seat

Does the damaged look of the leather seat of your car frustrate you because you think that it cannot be repaired? I can assure you one thing that its repair is possible and is not that difficult. Read this article and you will know how to repair a leather car seat.
Leather car seats add elegance and give a luxurious feel to the interiors of your car. However, these seats are subjected to several types of damages due to regular wear and tear. It could be scratches, cracks, holes or just a tear. When you see that the leather car seat is damaged, you are bound to feel very upset as it looks unsightly. Scratches are minor forms of damage and can be repaired quite easily. On the other hand, holes or tears requires extra efforts.

Preparing Leather Car Seat Surface
The damaged leather car seat requires a thorough cleaning before any repair work. In fact, the success of the repair job largely depends on this step. This is because a leather dye or leather repair compound used for repairing bonds well with the leather if its surface is clean.

Take a bucket of water, add some dishwashing liquid soap and use this solution and a scouring pad to scrub the entire surface of the car seat. All the cracks and fissures should be given special attention as they tend to accumulate more dirt. Dry up the surface with a clean piece of cloth. It is followed by another round of cleaning with soapy water and scrub pad. This is done to ensure that no dirt residues are left behind. Finally, wipe off all the excess water with a dry towel.

Car seats are often exposed to various types of chemicals like silicones. To clean up those chemicals stuck on leather seat, you should use denatured alcohol. Pour a few drops of alcohol on a cotton wool and rub it over the affected area. When it is still wet, take a dry towel to wipe off the alcohol.

Repairing Scratches on Leather Car Seat
The first step of leather scratch repair is to sand the damaged spots of the car seat with the help of sandpaper. A 240-grit sandpaper is suitable for this. Soak it in a soapy water and sand the scratches so that the existing dye on that part can be removed. Continue to sand the area until you get a smooth surface. Wipe off the sanded dust lying on the seat with a wet towel and dry it up using a blow dryer.

Next, apply a coat of primer on the entire seat as it helps the dye used for fixing scratches to bond well with the leather surface and you will have to use less amount of dye. Now, cover up the car seat except those portions where there are scratches, with a plastic sheet. Choose a suitable color leather dye that matches with your car seat. Spray it over the scratches in the form of a thin layer. Continue to apply the dye until all the cracks are filled in with dye. To obtain a uniform look, you can spread a thin layer of the dye all over the seat. After the application of dye, leave the ca seat untouched for some hours for air drying. If you want to speed up the drying process, then use a blow dryer. Make sure that the dye dries up completely before you start using the car seat again.

Repairing Tear on Leather Car Seat
As usual, the first step involves light sanding with the help of a 240 grit sandpaper so that the glue to be used can adhere well. If you observe the torn part carefully, you may find that it has some rough edges and a few loosely bound leather pieces. Cut them out with the help of a pair of scissors.

You require a piece of replacement patch made of leather to cover up the torn area. To get this patching material and all other tools needed for tear repair, you have to purchase a leather repair kit. Cut the patching material into circular shape and make sure its diameter is slightly larger than the actual size of the tear. This is because there should be at least half an inch of overlapping of the leather patch with the leather of the car seat on all sides. Place the patch over the damaged area and slide its edges into the torn area. Next, apply leather glue to the overlapped section of the patch and leather seat. Leave it untouched for some time in order to cure the glue properly.

If the glue seals up the tear, then you need not worry anymore. However, in case, the patch and the leather of the seat do not adhere to each other properly, you have to use a leather repair compound on those spots. Apply it in a thin layer over the tear and spread it evenly along the edges. Then, heat the repaired area using a heat gun to cure the compound. Keep the gun at a safe distance so that the car seat does not get burned. When the compound has dried up, wipe off the excess compound with a paper towel slightly damped with alcohol. After that, rub a sandpaper gently so that any bumps formed are smoothened up.

Most of the time, the color of the patch does not match with the color of the rest of the car seat. Therefore, you have to apply leather dye over the patched surface that suits color of the seat. A number of coats need to be applied on the repaired area and its surroundings, but each layer of the dye should be thin. Apply the next coat only when you know that the previous coat is dry. Finish off the leather tear repair job by applying a leather conditioner on the patched spot and its surroundings to give it a glossy look.

Now that you have gathered fair amount of knowledge on leather car seat repair, you can start the job any time you want. In order to ensure that the repair work is done perfectly, you should act patiently. If done hastily, the repair may not last for a long time.
By
Last Updated: 9/12/2011
Like This Article?
Follow:
Post Comment | View Comments
Your Comments:
Your Name: