Technology
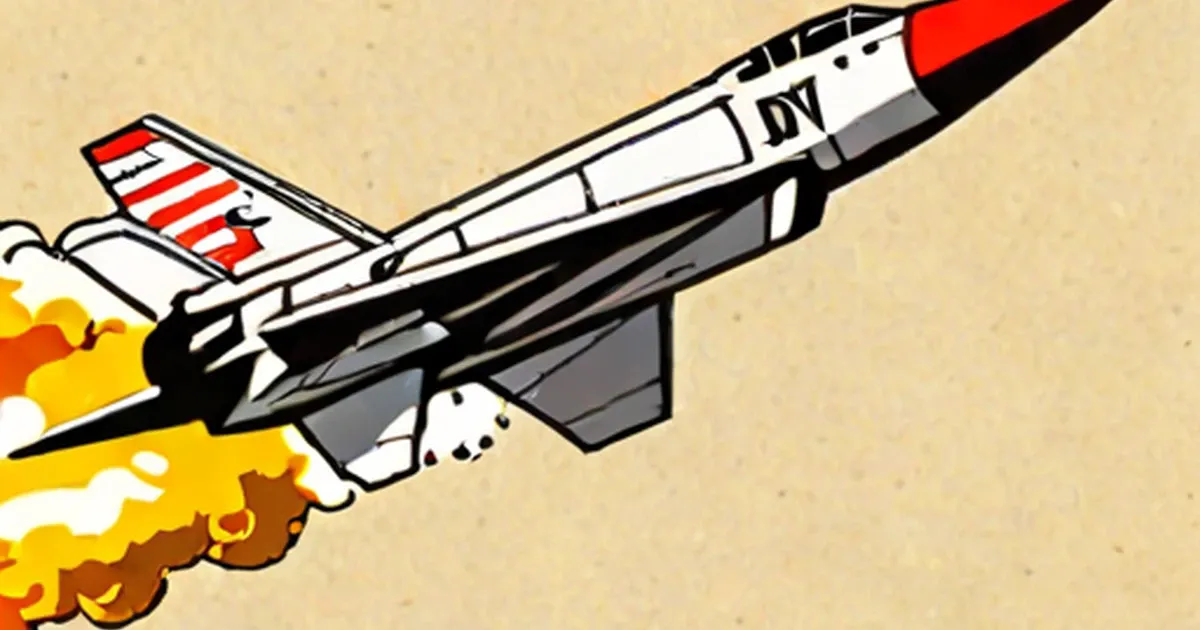
A Diy Cruise Missile: Yours for £3,000
July 3, 2026
Articles in Technology.
Technology
July 3, 2026

Technology
July 3, 2026

Technology
July 3, 2026
Technology
July 3, 2026

Technology
July 3, 2026

Technology
July 3, 2026

Technology
July 3, 2026

Technology
July 3, 2026
Technology
July 3, 2026

Technology
July 3, 2026

Technology
July 3, 2026

Technology
July 3, 2026

Technology
July 3, 2026

Technology
July 3, 2026

Technology
July 3, 2026

Technology
July 3, 2026

Technology
July 3, 2026
Technology
July 3, 2026

Technology
July 3, 2026

Technology
July 3, 2026

Technology
July 3, 2026

Technology
July 3, 2026
Technology
July 3, 2026

Technology
July 3, 2026

Technology
July 3, 2026

Technology
July 3, 2026
Technology
July 3, 2026
Technology
July 3, 2026

Technology
July 3, 2026

Technology
July 3, 2026

Technology
July 3, 2026

Technology
July 3, 2026
Technology
July 3, 2026

Technology
July 3, 2026

Technology
July 3, 2026
Technology
July 3, 2026

Technology
July 3, 2026

Technology
July 3, 2026

Technology
July 3, 2026

Technology
July 3, 2026
Technology
July 3, 2026

Technology
July 3, 2026

Technology
July 3, 2026
Technology
July 3, 2026

Technology
July 3, 2026
Technology
July 3, 2026

Technology
July 3, 2026

Technology
July 3, 2026

Technology
July 3, 2026

Technology
July 3, 2026

Technology
July 3, 2026
Technology
July 3, 2026

Technology
July 3, 2026
Technology
July 3, 2026

Technology
July 3, 2026
Technology
July 3, 2026

Technology
July 3, 2026
Technology
July 3, 2026

Technology
July 3, 2026
Technology
July 3, 2026
Technology
July 3, 2026

Technology
July 3, 2026

Technology
July 3, 2026

Technology
July 3, 2026
Technology
July 3, 2026

Technology
July 3, 2026
Technology
July 3, 2026

Technology
July 3, 2026

Technology
July 3, 2026
Technology
July 3, 2026
Technology
July 3, 2026

Technology
July 3, 2026

Technology
July 3, 2026

Technology
July 3, 2026
Technology
July 3, 2026

Technology
July 3, 2026

Technology
July 3, 2026

Technology
July 3, 2026

Technology
July 3, 2026

Technology
July 3, 2026

Technology
July 3, 2026

Technology
July 3, 2026

Technology
July 3, 2026

Technology
July 3, 2026

Technology
July 3, 2026

Technology
July 3, 2026
Technology
July 3, 2026
Technology
July 3, 2026

Technology
July 3, 2026
Technology
July 3, 2026

Technology
July 3, 2026

Technology
July 3, 2026

Technology
July 3, 2026

Technology
July 3, 2026

Technology
July 3, 2026

Technology
July 3, 2026

Technology
July 3, 2026
Technology
July 3, 2026
Technology
July 3, 2026

Technology
July 3, 2026

Technology
July 3, 2026

Technology
July 3, 2026

Technology
July 3, 2026
Technology
July 3, 2026
Technology
July 3, 2026

Technology
July 3, 2026
Technology
July 3, 2026
Technology
July 3, 2026
Technology
July 3, 2026
Technology
July 3, 2026
Technology
July 3, 2026

Technology
July 3, 2026

Technology
July 3, 2026

Technology
July 3, 2026

Technology
July 3, 2026

Technology
July 3, 2026

Technology
July 3, 2026

Technology
July 3, 2026

Technology
July 3, 2026
Technology
July 3, 2026

Technology
July 3, 2026

Technology
July 3, 2026

Technology
July 3, 2026

Technology
July 3, 2026

Technology
July 3, 2026

Technology
July 3, 2026

Technology
July 3, 2026
Technology
July 3, 2026
Technology
July 3, 2026

Technology
July 3, 2026

Technology
July 3, 2026
Technology
July 3, 2026
Technology
July 3, 2026
Technology
July 3, 2026

Technology
July 3, 2026

Technology
July 3, 2026

Technology
July 3, 2026

Technology
July 3, 2026
Technology
July 3, 2026
Technology
July 3, 2026

Technology
July 3, 2026

Technology
July 3, 2026

Technology
July 3, 2026

Technology
July 3, 2026

Technology
July 3, 2026

Technology
July 3, 2026

Technology
July 3, 2026

Technology
July 3, 2026
Technology
July 3, 2026

Technology
July 3, 2026

Technology
July 3, 2026
Technology
July 3, 2026

Technology
July 3, 2026

Technology
July 3, 2026
Technology
July 3, 2026
Technology
July 3, 2026

Technology
July 3, 2026