Sports & Recreation
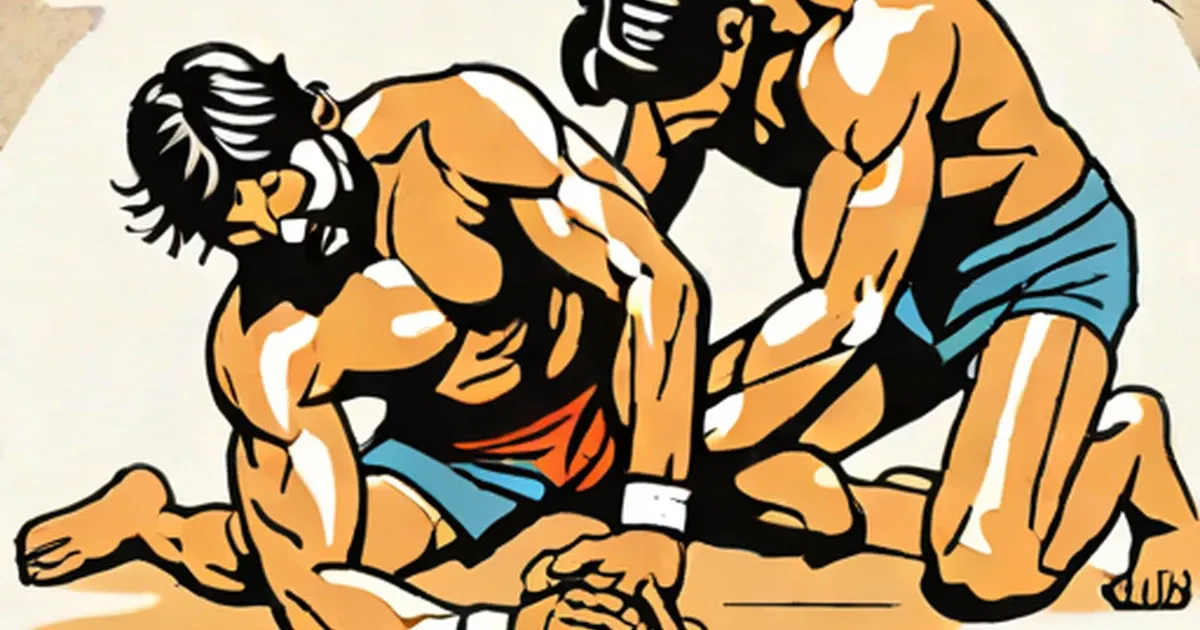
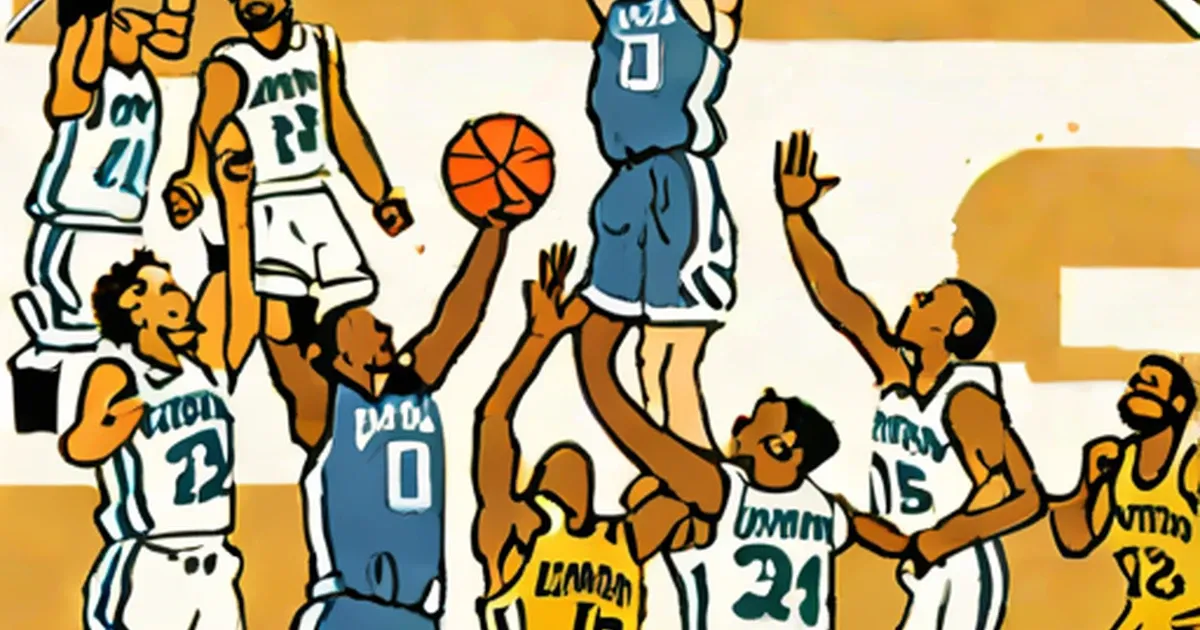
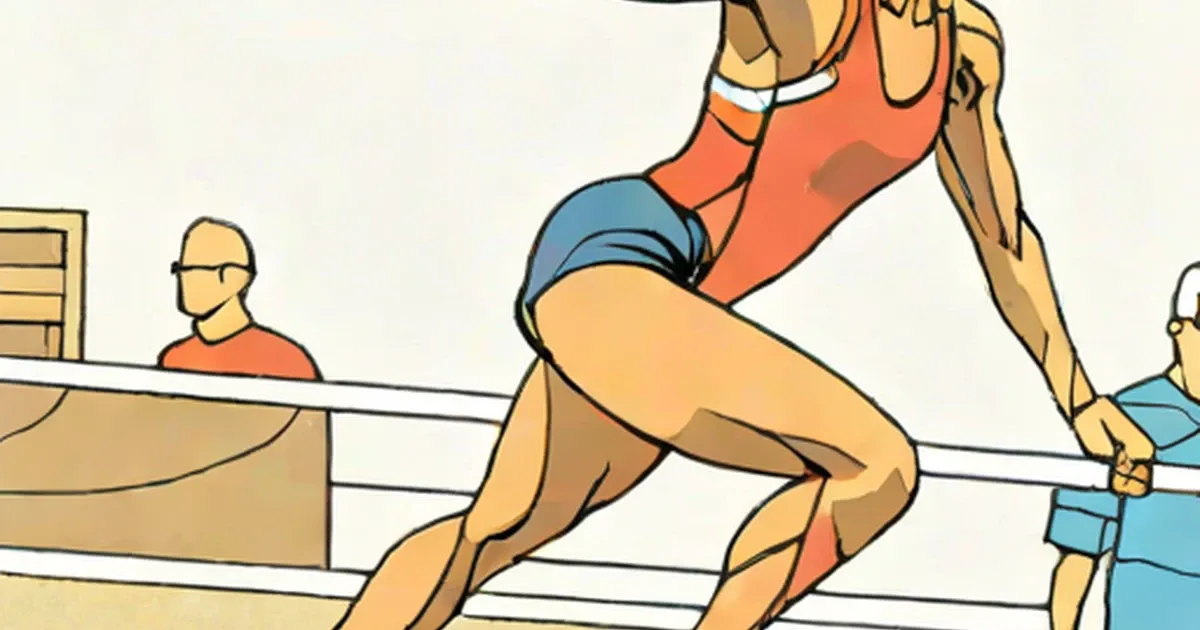
Everything You Need to Know About Indian Leg Wrestling
September 19, 2015
Sports and the outdoors — rules and tactics explained, game history, training advice and ideas for recreation well beyond the stadium.
Sports & Recreation
September 19, 2015
Sports & Recreation
September 19, 2015
Sports & Recreation
September 10, 2015
Sports & Recreation
July 19, 2014
Sports & Recreation
October 28, 2013
Sports & Recreation
October 28, 2013
Sports & Recreation
November 22, 2011
Sports & Recreation
September 26, 2011

Sports & Recreation
June 26, 2011

Sports & Recreation
June 10, 2011
Sports & Recreation
February 7, 2011
Sports & Recreation
December 28, 2010

Sports & Recreation
December 13, 2010
Sports & Recreation
December 3, 2010
Sports & Recreation
November 23, 2010

Sports & Recreation
September 16, 2010
Sports & Recreation
September 10, 2010
Sports & Recreation
August 5, 2010

Sports & Recreation
July 6, 2010
Sports & Recreation
July 1, 2010
Sports & Recreation
June 20, 2010
Sports & Recreation
April 6, 2010
Sports & Recreation
March 23, 2010
Sports & Recreation
February 27, 2010
Sports & Recreation
February 22, 2010
Sports & Recreation
February 11, 2010

Sports & Recreation
February 3, 2010
Sports & Recreation
January 23, 2010
Sports & Recreation
January 16, 2010
Sports & Recreation
January 16, 2010

Sports & Recreation
January 10, 2010
Sports & Recreation
January 5, 2010
Sports & Recreation
December 30, 2009

Sports & Recreation
December 13, 2009
Sports & Recreation
November 27, 2009
Sports & Recreation
November 16, 2009
Sports & Recreation
November 8, 2009

Sports & Recreation
October 17, 2009
Sports & Recreation
September 28, 2009
Sports & Recreation
September 25, 2009
Sports & Recreation
July 13, 2009

Sports & Recreation
June 6, 2009
Sports & Recreation
May 24, 2009

Sports & Recreation
April 29, 2009
Sports & Recreation
February 11, 2009
Sports & Recreation
February 10, 2009
Sports & Recreation
December 2, 2008

Sports & Recreation
September 3, 2008
Sports & Recreation
May 20, 2008

Sports & Recreation
May 20, 2008
Sports & Recreation
May 12, 2008
Sports & Recreation
April 22, 2008
Sports & Recreation
March 16, 2008

Sports & Recreation
February 9, 2008
Sports & Recreation
January 27, 2008
Sports & Recreation
January 8, 2008
Sports & Recreation
January 8, 2008
Sports & Recreation
December 24, 2007
Sports & Recreation
December 3, 2007
Sports & Recreation
November 22, 2007
Sports & Recreation
November 19, 2007
Sports & Recreation
November 19, 2007

Sports & Recreation
November 19, 2007
Sports & Recreation
November 13, 2007
Sports & Recreation
November 4, 2007

Sports & Recreation
October 18, 2007
Sports & Recreation
October 18, 2007
Sports & Recreation
October 12, 2007

Sports & Recreation
August 18, 2007

Sports & Recreation
July 3, 2007
Sports & Recreation
June 15, 2007
Sports & Recreation
June 11, 2007

Sports & Recreation
May 17, 2007
Sports & Recreation
May 16, 2007
Sports & Recreation
May 15, 2007
Sports & Recreation
February 6, 2007
Sports & Recreation
February 5, 2007
Sports & Recreation
August 31, 2006
Sports & Recreation
February 28, 2006

Sports & Recreation
February 26, 2006
Sports & Recreation
February 25, 2006
Sports & Recreation
January 16, 2006
Sports & Recreation
December 14, 2005

Sports & Recreation
April 29, 2005
Sports & Recreation
March 9, 2005

Sports & Recreation
March 6, 2005
Sports & Recreation
March 6, 2005
Sports & Recreation
February 17, 2005
Sports & Recreation
January 29, 2005
Sports & Recreation
January 17, 2005
Sports & Recreation
January 17, 2005
Sports & Recreation
January 15, 2005
Sports & Recreation
December 30, 2004

Sports & Recreation
November 27, 2004
Sports & Recreation
November 14, 2004
Sports & Recreation
November 4, 2004
Sports & Recreation
October 30, 2004

Sports & Recreation
September 21, 2004
Sports & Recreation
February 2, 2004
Sports & Recreation
January 16, 2004

Sports & Recreation
January 11, 2004

Sports & Recreation
November 30, 2003
Sports & Recreation
November 22, 2003
Sports & Recreation
November 18, 2003

Sports & Recreation
August 28, 2003
Sports & Recreation
July 18, 2003
Sports & Recreation
July 18, 2003
Sports & Recreation
July 17, 2003
Sports & Recreation
May 29, 2003
Sports & Recreation
May 26, 2003
Sports & Recreation
May 12, 2003
Sports & Recreation
May 9, 2003

Sports & Recreation
May 9, 2003

Sports & Recreation
March 16, 2003
Sports & Recreation
November 21, 2002

Sports & Recreation
November 15, 2002
Sports & Recreation
November 5, 2002
Sports & Recreation
October 4, 2002
Sports & Recreation
May 31, 2002
Sports & Recreation
February 19, 2002